
SQL Server with .NET Core and EntityFramework on Mac
I completely updated this article on Medium, implementing a full example on GitHub and using just Visual Studio Code. Please follow this link.

So I wanted to create the backend for a platform, and I wanted…
- a cross platform solution, to be able to host in anywhere
- (Microsoft) SQL Server
- Entity Framework as ORM and for Migrations
- to work exclusively from my Mac
To make this possible, I’m using ASP .NET Core with Entity Framework Core. For the database, I use a Docker image with Sql Server for Linux that can run on Mac.
So this is how it goes…
Docker Container with SQL Server
To setup a SQL Server with Docker, you just have to follow a few simple steps:
Install Docker
Download and install Docker for Mac.
Download the image
docker pull mcr.microsoft.com/mssql/server:2017-latest-ubuntu
Start a container
docker run -e ‘ACCEPT_EULA=Y’ -e ‘MSSQL_SA_PASSWORD=1StrongPassword!’ -p 1401:1433 –name sql1 -d microsoft/mssql-server-linux:2017-latest
Check the container is running
sudo docker ps -a
Test the connection
I recommend SQL Operations Studio:

For a deeper understandment of Docker for this case, I recommend you this page.
The executable .Net Core
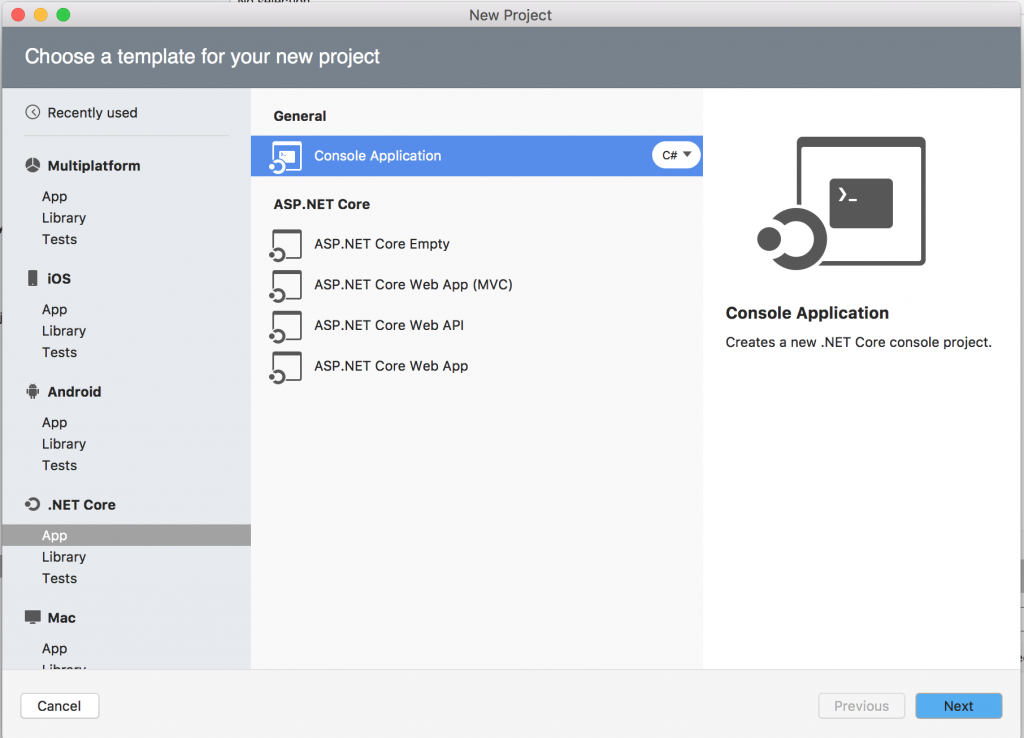
For EntityFramework Core to work, you need an executable project in your solution. So for this demo, we just go with a simple .NET Core Console application. In VisualStudio on Mac, just go to
File – New Solution – .NET Core – App – Console Application
Then you add a simple class containing two properties Id and Name.
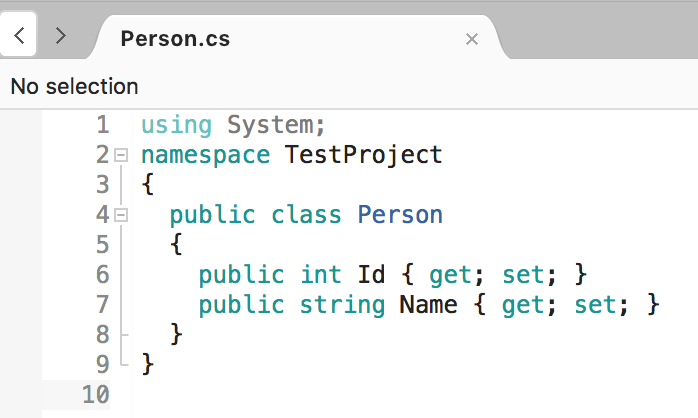
That’s it for the example project. Now we’ll look how we create a database with a ‘Person’ table with EntityFramework Core.
EntityFramework Core
Packages
For EF Core to work, you need to add just two packages. They contain all the dependencies for the other packages, and will pull them in.
- Microsoft.EntityFrameworkCore.SqlServer
- Microsoft.EntityFrameworkCore.Design
- Microsoft.EntityFrameworkCore.Tools.DotNet
Actually this is the simple way of going, when you’re keeping everything inside one project. If you’re splitting your code in a data library (containing the DbContext), you ‘just’ need the Designer package in the executable, and the other package in the Data project. But let’s not worry about that right now.
DbContext
This is the main entry point for EntityFramework Core in your project. Create a class PersonContext that inherits from DbContext, and override the method OnConfiguring to configure the connection string to the database. Also, you’ll need to define the DbSets for each class you want to store in the database as a table.
Of course there’s better ways to configure this (through the application config file), but I want to keep it as simple as possible here.
EntityFramework Core CLI
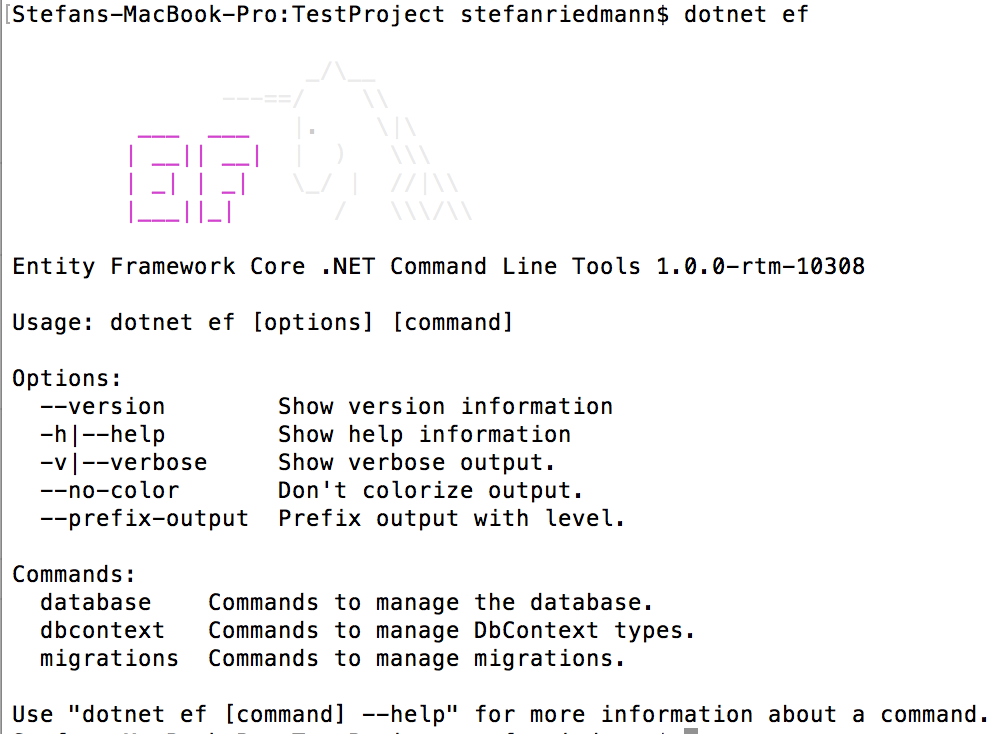
Now comes the tricky part – using EntityFramework Core to generate migrations and create/update the database automatically. For this, we have the Package Manager commands in VisualStudio on Windows. But what about Mac?
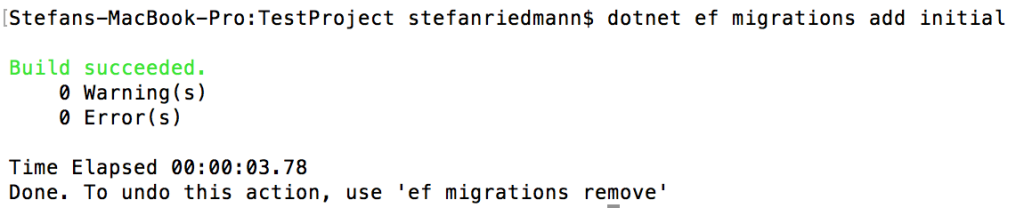
Now you can create your first migration using the command:
dotnet ef migrations add initial
(You can choose another name over ‘initial’ of course)
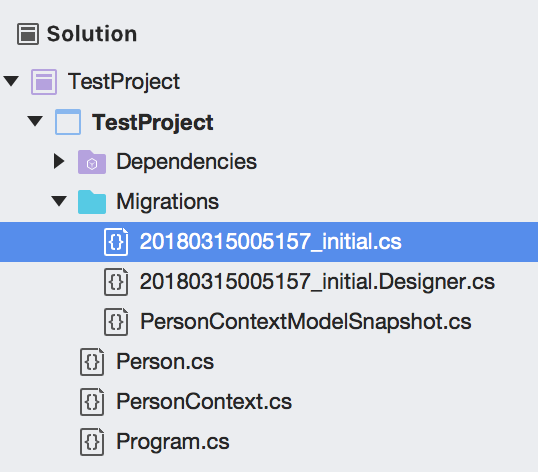
You can see your first migration in the project, after you refresh:
Now there is just one last step left – to execute the migration:
dotnet ef database update
And voilá! The new database and table appear in the database!

Now you can start using all the EntityFramework Core features in your code. If you want to learn more about that, I recommend you this Pluralsight course.
So long…
HAPPY PLANTING